by John Park
| STEP 1: Start With Dreamweaver |
This tutorial assumes that you have finished editing your HTML documents (formatting text, inserting images, etc) and that you are ready to upload your webpage from local computer (LOCAL MACHINE) to your UOREGON web-space (REMOTE SERVER). If you are brand new to using computers or uploading files, please pay special attention to this tutorial. The first thing you want to do is make a folder that will be the HOME folder any projects. I will do this on my desktop and call it "UO_SITE".
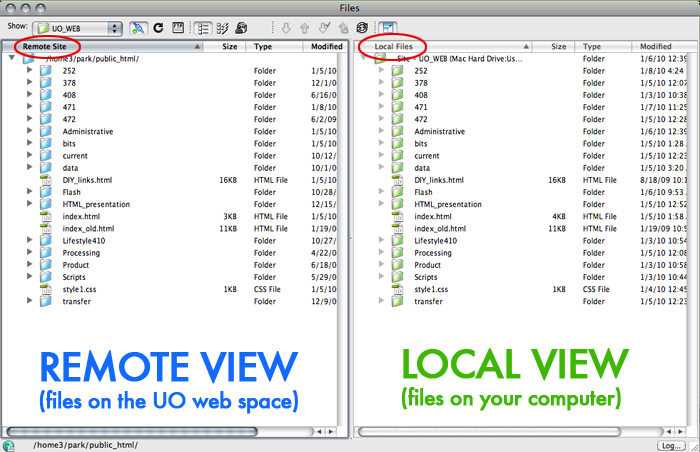
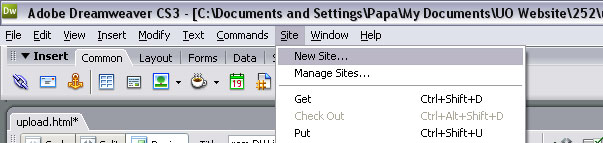
The idea here is that we are going to have TWO different file structures that mirror each other. One will be the LOCAL view (content on the computer that you are working on) and the other is the REMOTE view (the UO web server that makes your documents live on the internet). The structure and organization of the LOCAL folders will be the same as the REMOTE folders. So if you add a new file to the LOCAL view and then upload it, you will see that same file in the corresponding folder in the REMOTE view. If this seems confusing to you, look at the below image that shows my UO web server space. Notice that all the files in my main UO_SITE folder are the same as the folders and files in the REMOTE VIEW: To get Dreamweaver to KNOW WHERE YOUR FILES ARE LOCATED and to know how to LOG IN to the UO web server, you must define a site
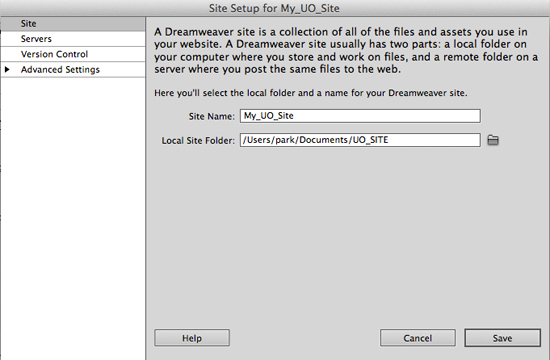
Here we need to fill out some information. First, in the SITE area fill out the name of your site in DW (this is just a reference for DW, will not really do anything important to your file names). The MOST IMPORTANT part is to set the "Local Site Folder" to the folder that you made on the desktop (in my case I called it "UO_SITE").
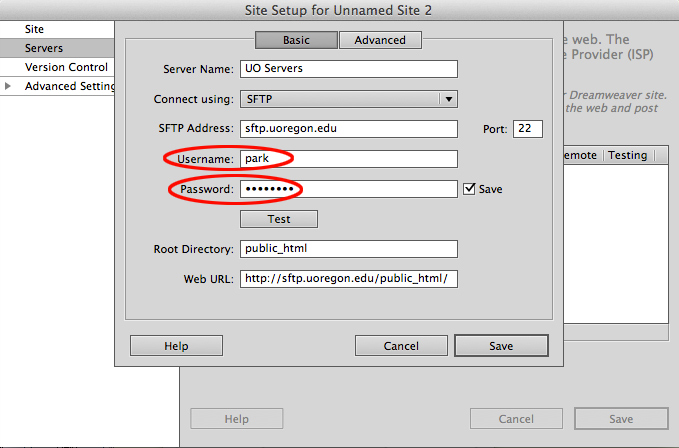
Next go to the SERVERS tab to fill in information that will allow you to log into the UO Server. This process of uploading is called FTP (short for File Transfer Protocol). This is the area where you have to get your login settings exactly correct or you will be denied access to the server. In the below image, the uncircled parts will always be the same. The part that is specific to you is the USERNAME and PASSWORD. s *** For the login, use your UO email name, but WITHOUT the @uoregon.edu part. The password is your email password. (If you are on your personal machine, it's safe to hit "Save Password". If on a lab machine, DO NOT hit "Save Password"). ** Finally, you MUST HAVE CHOSEN the dropdown selection that says "SFTP". This creates an extra security layer for transferring files that the UO Server requires in order for you to gain access to their system.
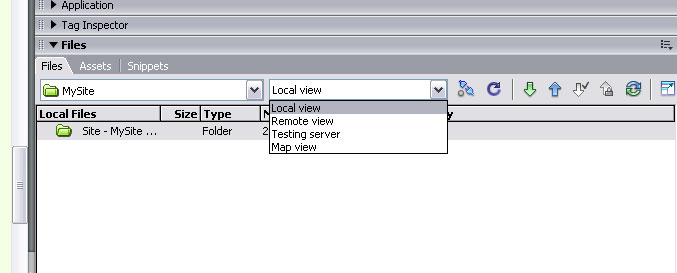
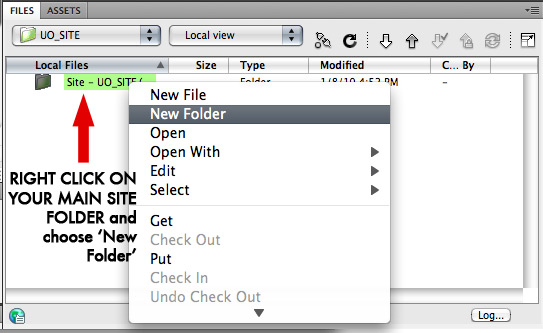
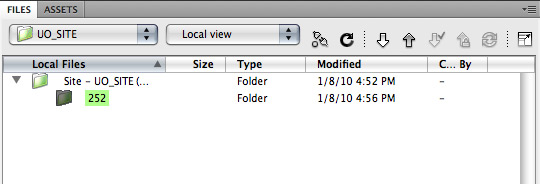
NOW...to jump between the files on your computer (LOCAL VIEW) and the ones on your UO Server space (REMOTE VIEW), look at the Files palette. This is usually located on the right side of the screen. If you don't see it, you can pull up this window by going to WINDOW>FILES (or hit F8). This is what the Files palette looks like and the place to jump between LOCAL and REMOTE views (see below): Now let's finish this part up by CREATING a new folder called '252' in your 'UO_SITE' folder on the desktop. You can do this by minimizing Dreamweaver and go to the desktop and create the new folder, or you can do it within Dreamweaver from the LOCAL VIEW menu. You can do this by right clicking on the your UO_SITE folder in the FILES palette and choose 'New Folder'. These two methods both do the same thing. (shown below)
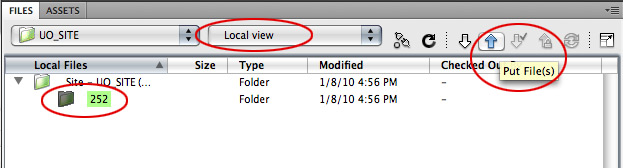
To UPLOAD content from your computer to the server, hit the UP Arrow icon. Dreamweaver also calls thisoperation 'PUT', or upload (same thing). Either way, whenever you want to put something from a LOCAL MACHINE onto the REMOTE SERVER, this is the button to hit. The below image shows how you would UPLOAD the '252' folder from your LOCAL MACHINE to your SERVER space. To DOWNLOAD content from your server to your site folder, hit the DOWN Arrow. Dreamweaver calls this operation 'GET' Remember that you only GET files from the remote server to save them to your local machine, and you only PUT file from your local machine to the remote server. ACCESSING FILES
|
STEP 2: External FTP Programs |
There's good news! If you work from your own computer, you don't need to download (or have) Dreamweaver in order to upload/download files to and from your UO webspace. If you run WINDOWS, check out an opensource FTP client called "FileZilla" If you run OSX on a MAC, try out the free FTP Client "Fugu"
These programs are JUST for uploading and downloading files to web server, not for HTML editing like Dreamweaver. They are both free and have no trial periods.
Good luck in your uploading endeavors! |

 .
.