


About This Print
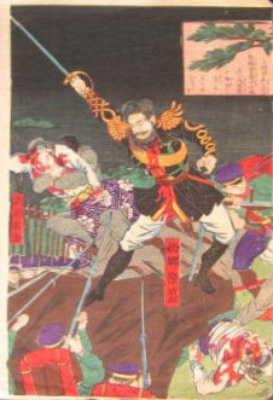
Saigō Takamori's 西郷隆盛 body is front and center upon horseback in this print depicting the Battle of Shiroyama, the final battle of the Satsuma Rebellion. His head, however, has left his body, ascending to heaven to join a faint ghost-like apparition visible to the left of his head. Pictured with Saigō and named in the red cartouches, are his fellow rebels Beppu Shinsuke (to the left of Saigo), Fuchibe Takaaki and Ikegami Shiro (to the right of Saigo.)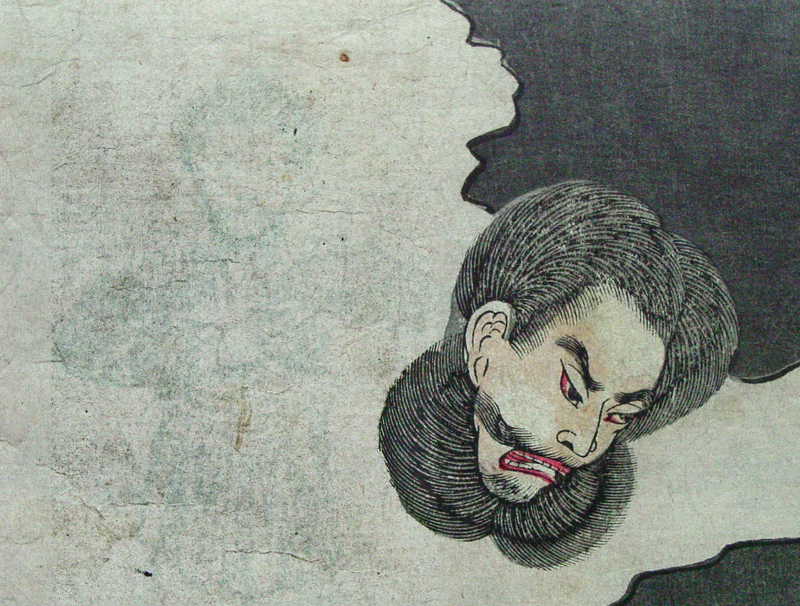
The Battle of Shiroyama
On September 24, 1877, with their numbers reduced to no more than 400 men "[t]he rebels made their last stand in the hills of Shiroyama behind Kagoshima Castle, overlooking Kagoshima Bay."1Imperial army troops and marines under the command of Yamagata Aritomo (1838‐1922) and Kawamura Sumiyoshi (1863-1904) launched their assault on Tabaru-zaka hill in the early morning and by 7:00am "Saigō and his troops descended the hill to face the Japanese army and die."2

"Halfway down the hill, Saigō was shot in the right hip. The bullet passed through his body and exited at his left femur. Saigō fell to the ground."3 At this point reality and myth put forward two different scenarios of Saigō's final moments. The Saigō myth has him calmly asking his lieutenant Beppu Shinsuke to be his second and then committing ritual suicide, seppuku, by disembowlment, followed by Shinsuke lopping off his head. Reality, however, while confirming a clean decapitation of his head, suggests that Saigō was crippled and in shock from the bullet wound to his thigh and "unable to dispatch himself with traditional samurai honor."4
Saigō's Missing Head
In either event, his head and his body did wind up in two different places, his head being hidden by his manservant. For a fascinating discussion of the importance of Saigō's head to the Meiji government, which had stopped the practice of the presentation of heads of enemies to the victors as part of their reforms, see Mark Ravina's work The Last Samurai, cited below in the footnotes.
Note: I stumbled across an image of the center panel of this print which has Saigō's head in its proper place. It would not have been unusual for the publisher to use the same printing blocks, with some modifications, to portray different events.
Saigō's Final Resting Place
In October when this print was published, the ascendance of Saigō to the heavens was already part of popular legend as described in 1881 by the journalist and publisher John Reddie Black:
| The bodies of Saigō and the leaders... were placed in coffins. The other corpses were wrapped in blankets. Saigō lies in the centre of the large grave where all are interred, and the rest are placed in rows on either side of him. Over the grave stands a large wooden tablet on which are inscribed the names of the dead, and the date on which they fell. Thousands of the people of Satsuma have since visited this grave and there offered up their prayers; and, in the popular belief, the spirit of their once great general has taken up its abode in the planet Mars and his figure may there be seen, when this star is in the ascendant.5 |
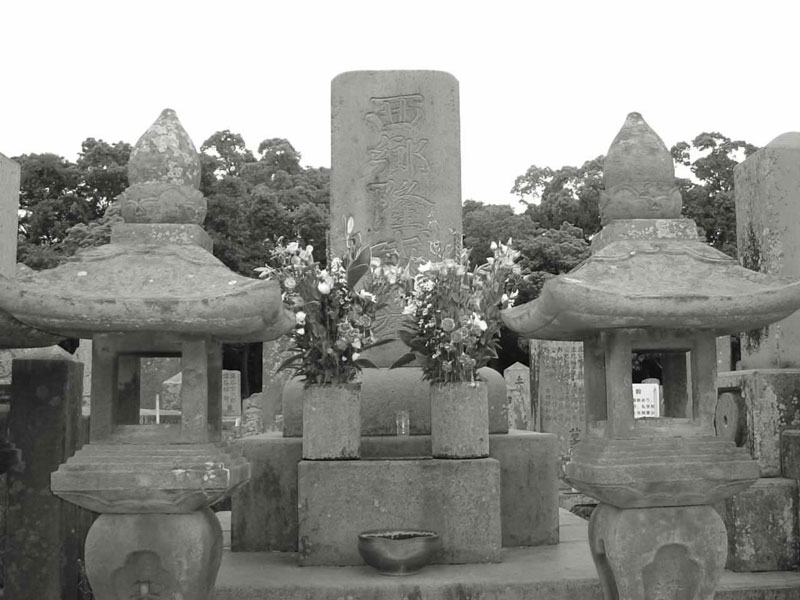
Saigō's grave at Nanshu cemetery, Kagoshima City
"Many people visit his grave to pray for the repose of the great Saigō and to gain an understanding of his virtue."6
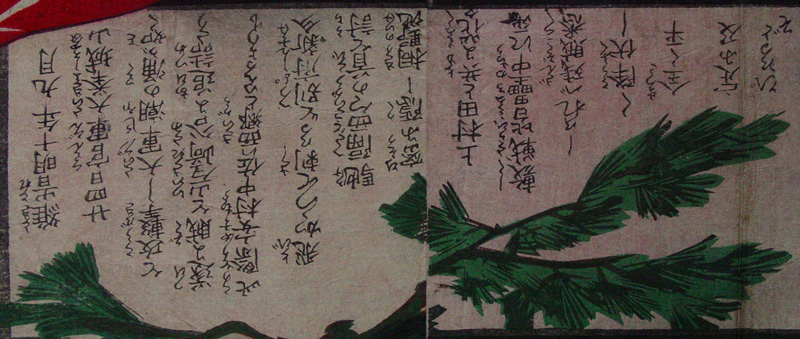
The prints inscription, for anyone who cares to translate it.
click on image to enlarge
click on image to enlarge
2 Ibid, p.4,
3 Ibid.
4 Ibid, p. 5.
5 Young Japan. Yokohama and Yedo. A Narrative of The Settlement and the City from the Signing of the Treaties in 1858, to the Close of the Year 1879. With a Glance at the Progress of Japan During a Period of Twenty-one Years, John R. Black, Trubner & Co., 1881 p. 497
6 Kagoshima city website http://www.city.kagoshima.lg.jp/_1010/shimin/foreigner/foreigner-sightseeing/foreigner-s-eng/foreigner-s-eng-3/0005545.html
Print Details
| IHL Catalog | #451 |
| Title or Description | Illustration of the Rebels Being Suppressed at Kagoshima 鹿児嶋賊徒平定圖 Kagoshima zokuto heijō no zu |
| Series | |
| Artist | Utagawa Kunimasa IV (1848-1920) |
| Signature |  梅堂国政図 Baidō Kunimasa zu with Toshidama seal |
| Seal | Toshidama seal (see above) |
| Publication Date | October 4, 1877 |
| Publisher | 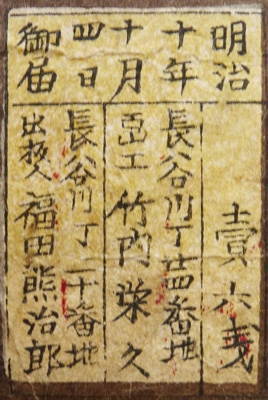 top: 明治十年十月四日 ?届 Meiji 10th year, 10th month, 4th day left: 出版人 shuppanjin [publisher] 福田熊治郎 [Fukuda Kumajirō] followed by address center: 画工 gakō [artist] 竹内栄久 [Takenōchi Hidehisa, artist's birth name] followed by address right: 値六戔 price six sen |
| Impression | excellent |
| Colors | excellent |
| Condition | fair – three panels joined; remnants of prior mounting along top margin; light soiling throughout; trimmed into image; vertical fold with some loss on each panel. |
| Genre | ukiyo-e; senso-e |
| Miscellaneous | |
| Format | vertical oban triptych |
| H x W Paper | 13 3/4 x 28 1/2 in. (34.9 x 72.43 cm) |
| Literature | |
| Collections This Print |
3/31/2020